Drawing African Trees
A quick and easy tutorial to help you draw and shade an African tree in pencil.
Firstly, take a deep breath and a good look around your neighbourhood, garden or park. Look down up and all around. Listen to the sound of the wind in the leaves and the song of birds. Smell the fresh morning air and soft,subtle scents. Touch the rough bark on the tree trunk.Feel the morning sun warming your skin and soul.
You may want to complete tree-safari, taking pictures of what you see: Take pictures looking down on the ground. Are there twigs, withered brown leaves that surround the stem. Focus on the gnarled, textured bark of the stem. How about a close-up. Capture the shape of the tree. Consider the composition of your photo, considering positive and negative space. Take a picture up through the branches, capturing the sky. Look at the shadows being cast or the light filtering through the foliage.
Once you have explored with your eyes and camera, get your HB pencil, paper sharpener and eraser ready, and let’d start drawing!
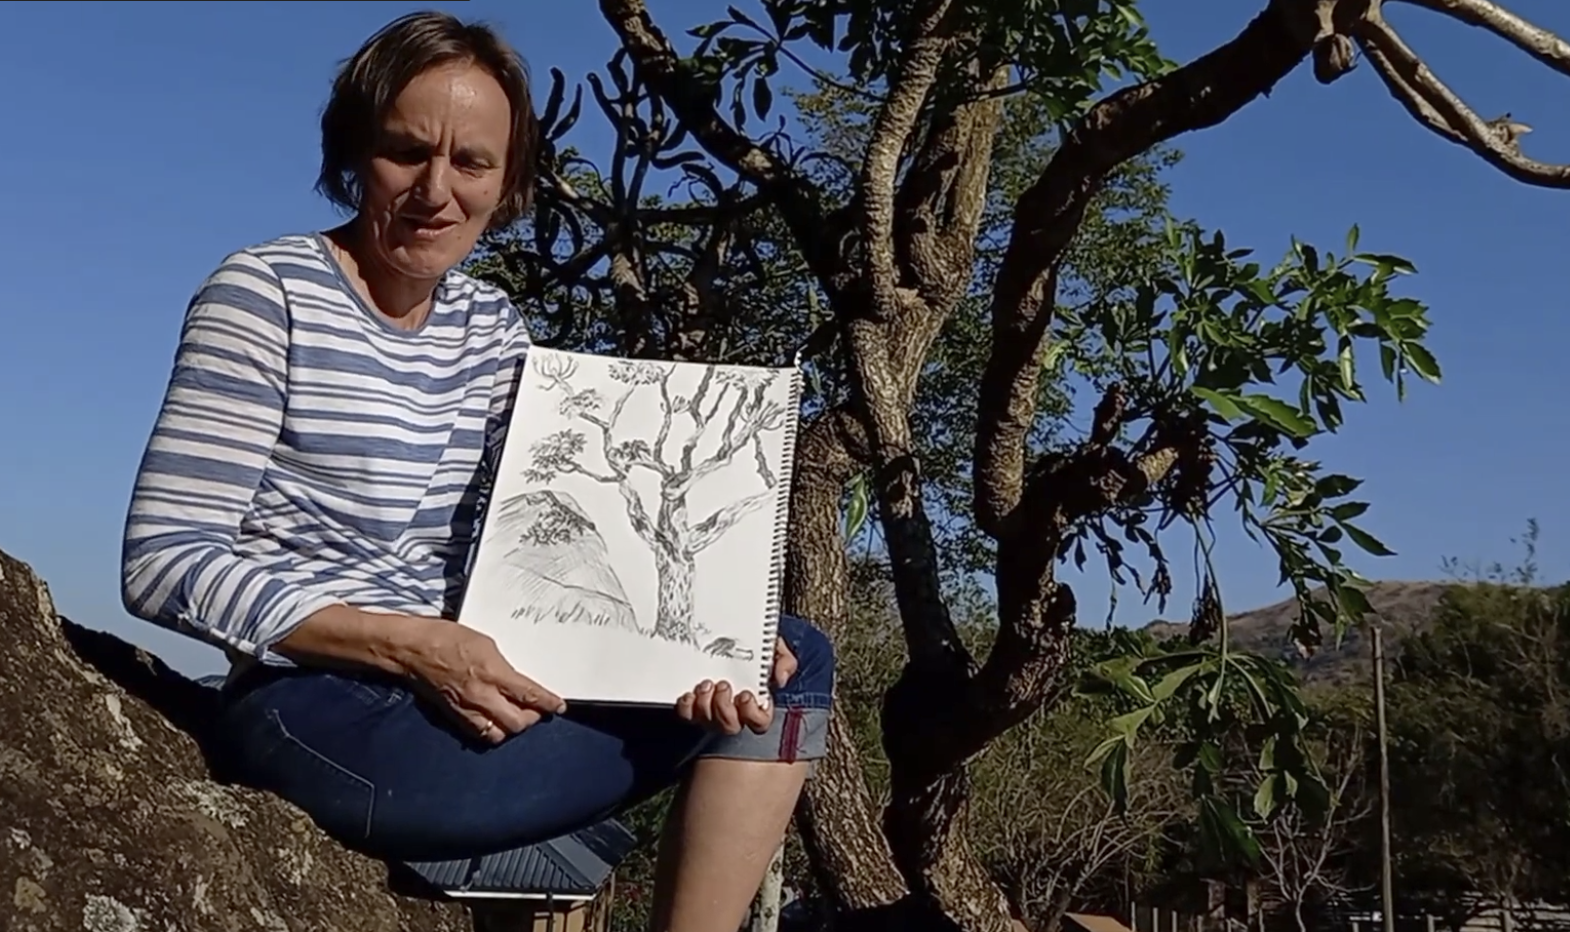
You may choose to just draw a section of a tree rather than the whole shape. Where is your focal point?
Draw the outline of the tree, focusing on the interplay of positive and negative space.
You need not draw every leaf. Look at the shape and arrangement on the leaves on the stem.
Next, start adding texture to the stem, branches and detail into the leafy areas.
Lastly, add shading. If you have 2B-6B pencils, you can use these to get dark tones. If you consider oblique lighting, your tree will be darker on the one side facing away from the sun. Shade the stems that are being shaded by other stems darkly.
Maybe add some shadows and rocks or other features to your artwork.
Have fun capturing the magnificent garden giants!
Leave a Reply