Shading
Shading, like perspective, can make a 2D object look 3D, and to add depth to an image. Today we’re going to explore tonal variation- areas of light and dark; as well as 3 main types of shading, hatching, cross-hatching, and stippling.
You will learn:
- How to make a circle look like a sphere by using:
- Hatching
- Cross-hatching
- Stippling
- Shading other objects
You will need:
- Paper
- Pencil or pen
Hatching

Hatching is using closely spaced parallel lines to create tonal variation. Start with the pen/pencil in the area that you want the darkest (so the area that light is NOT shining onto) and move across the object using swift, even strokes. The closer your lines are together, the darker the area will look.
Cross Hatching

Cross hatching is like hatching, but you’ll be going in two directions. Start off by simply hatching, then build up another layer perpendicular to the first. As with hatching, the area with the most lines, as well as the area you start in will be the darkest.
Stippling

Stipples are little dots, or each little lines/flicks that are the result of lifting your pen up and down over an area. The more stipples that you make in an area, the darker that area becomes. You’ll want to make sure that you make the most stipples in an area where the light is not hitting directly. Stipples are great for texture, so if you’re shading a cat or a dog, you might want to consider stippling.
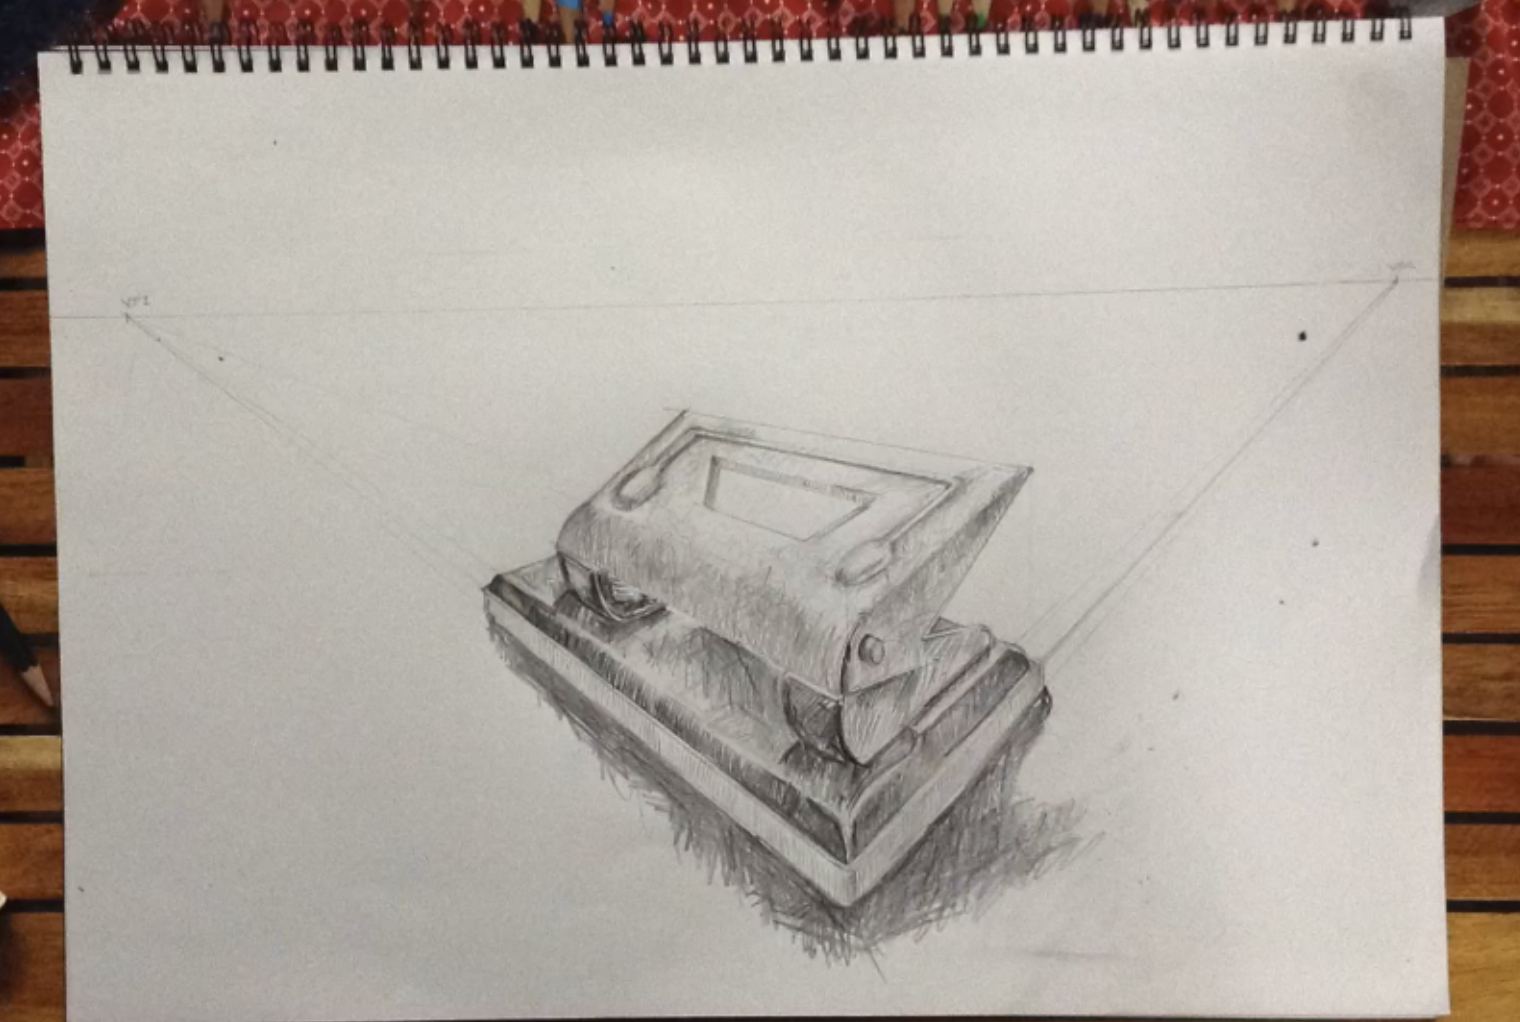
Shading other objects

Depending on what you’re shading, you need to find the shading technique that will work nicely with your objects. Stippling works well to give texture, so you’d use it for animals. Hatching gives clean, smooth lines, so you’d use it when you want to have smooth edges. Cross hatching is good for many things, but it works particularly well for portraits. For the punch I have used cross hatching and hatching.
Thank you for reading, don’t forget to share! 🙂
Leave a Reply