How to Set Up and Draw a Still Life
Setting it up


Setting up the still-life is a very important part of the process. We used fruit, granadillas (passion fruit) and citrus, but you can use anything you like.
First, you want to choose a colour palette. We set up two still-lives with both had simple colours; mainly the greens of the granadillas, and the bright yellows and oranges colours of the citrus fruit. These were juxtaposed by the darker colours of the background, enhancing the focal point.
Another consideration when setting up your still life is compositional lines that draw the viewers’ eye into the composition. To achieve this we used the long, elegant granadilla vines that draw the viewers gaze towards the focal point in a curved, diagonal arch.
Your focal point can be created by strongly contrasting areas of light and dark. In our arrangement, the bright yellow lemon becomes the highlight in the composition. Whether taking photographs or setting up a still life to paint, a focal point is often created by a gleaming surface catching the light.
Varying textures, or textural contrasts, enhance a composition. You can achieve this quite easily by cutting open some fruit and leaving others whole. Using fruit with different textures can also achieve this.
Your artwork doesn’t need to be symmetrical. Artworks are more dynamic when asymmetrical. Just something simple. It is not essential, for example, to draw the entire circumference of the basket in the still-life. An arched part of the circumference tells the full story and allows there to be interest in the creation of an asymmetrical composition.

Let’s get that artwork started!


Now that you have set up your still-life, you’re ready to get started!
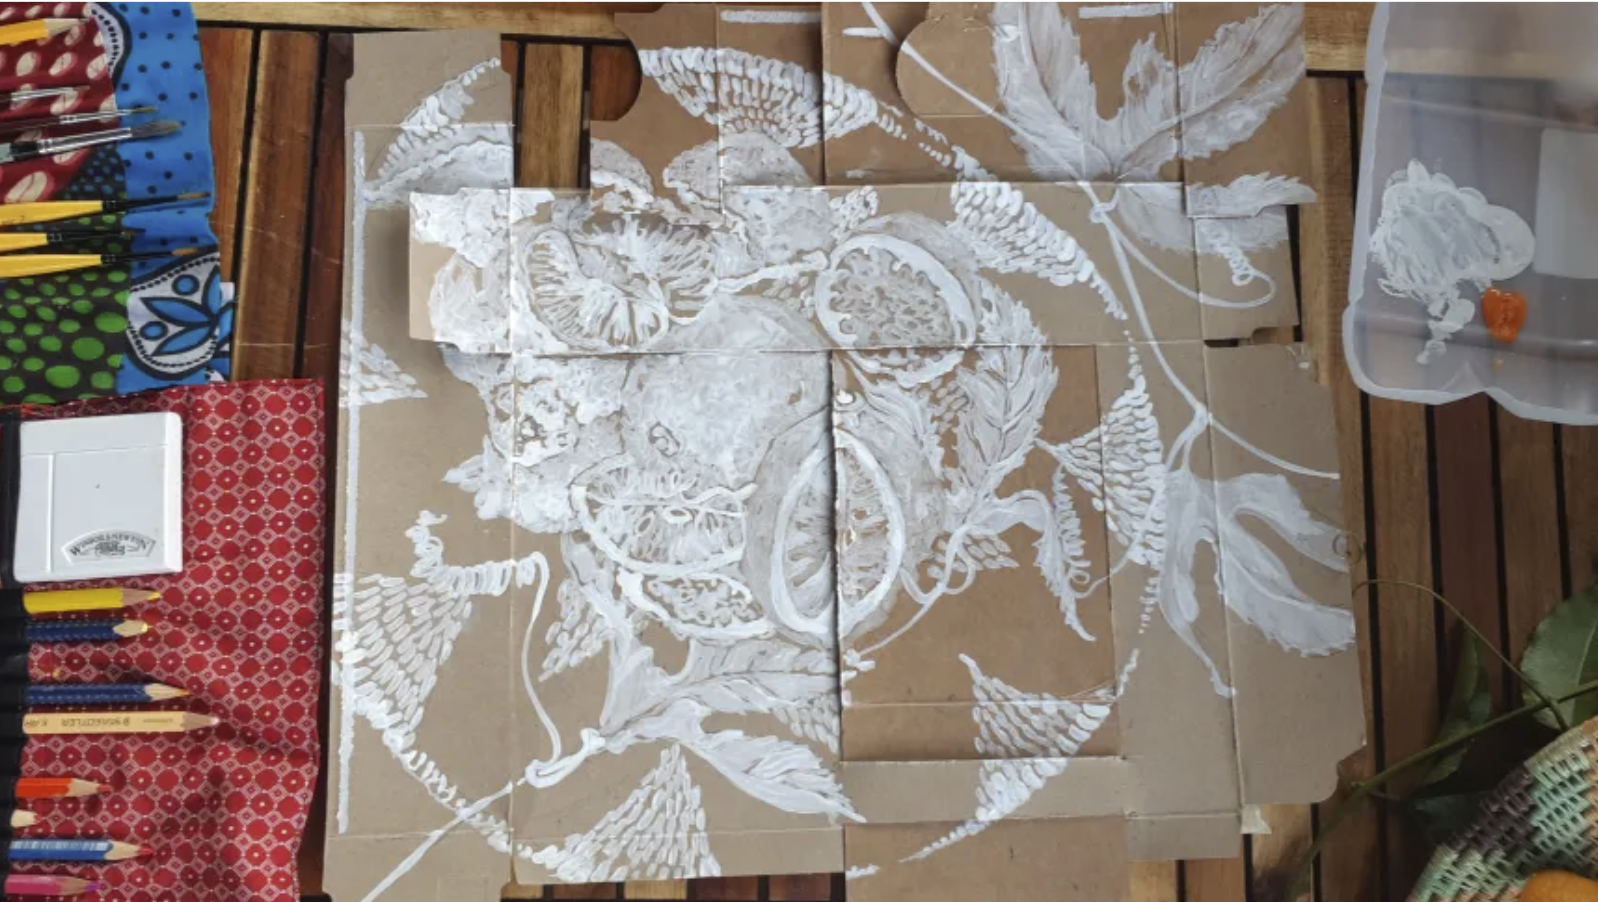
Decide what surface you’re going to work on. This can be a plain white piece of paper or a canvas. Alternatively, you may want work on alternative surface such as the cardboard reverse side of cereal boxes. Turn some old cereal boxes inside out to reveal that brown colour. You can cut them apart on their fold lines and assemble them into an interesting background surface.
Now start by drawing the outlines of the still-life with pencil. Then add the details.
It’s up to you what you want to do next. If you’re just using colour pencils, start shading. If you’re going to be adding colour, now would be the time. You can use watercolour, acrylics, coloured pencils….pretty much anything!

If you’re doing you’re artwork on the brown surface of the cereal boxes, you may first want to add a layer of white acrylic paint so that the colours stand out more. If you don’t your colours will appear more faded and dull, which you don’t want.
Lastly, to create depth to your artwork, you can finish it off by adding sepia washes over your creation. You can make this sepia wash by mixing instant coffee with a bit of hot water…really, I’m not kidding!
Have fun, and keep experimenting!
🙂
Leave a Reply